Bring Your Own Basemap (BYOB) use is intended to cover the cases where the Apple Maps layers that are the default in Map Pilot are insufficient to safely design a flight. It is the user's responsibility to get a basemap that will work for them.
Lower resolution aerial imagery overviews can be gotten one of two ways: make one or find one. Depending on where you are operating, "make one" may be the only option.
To make your own basemap, we recommend flying as high as you legally can using 70%/70% overlap settings. This will give a low GSD overview of the area that can then be used as a basemap for lower flight later on to get higher levels of detail.
This example uses a GeoTiff that was created using Maps Made Easy, but any GeoTiff source that Mapbox will ingest will work.
If "make one" is not an option and you are lucky enough to be in an area that has usable public imagery from NASA, USGS or ESA then you will likely be able to find something to use at one of the following sites:
- Earth Explorer - Multi Source (USGS, NASA, etc) - https://earthexplorer.usgs.gov/
- ESA Sentinel - Awesome Spectral Datasets - https://scihub.copernicus.eu/dhus
Mapbox Studio operates off of "Styles". Our goal here is to make a new style that can be used within Map Pilot by entering its Share URL in the Map Pilot settings. Instructions for that can be found here:
https://support.dronesmadeeasy.com/hc/en-us/articles/115000168726-3rd-Party-Basemap-Mapbox-Share-URL
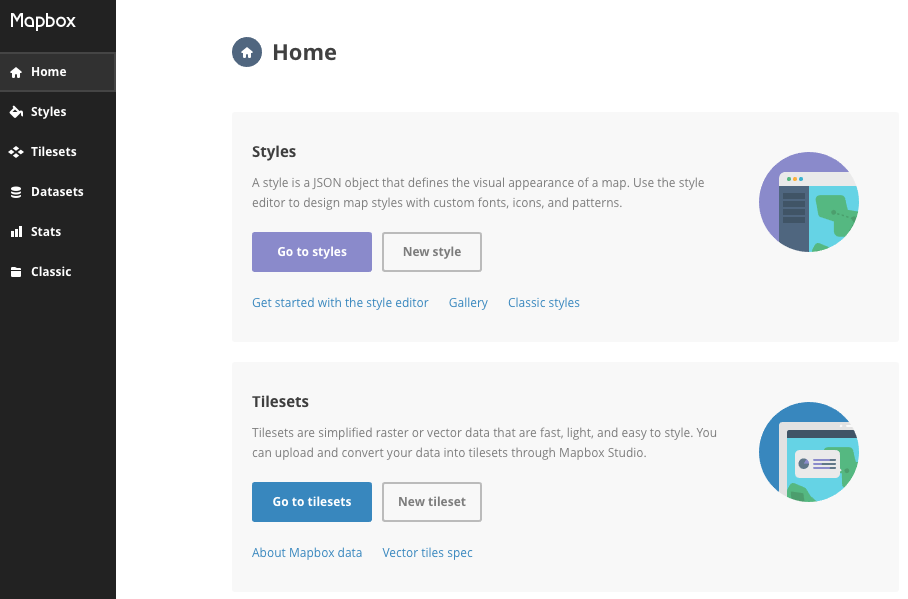
From the Mapbox Studio "Home" screen, click the "New tileset" button.
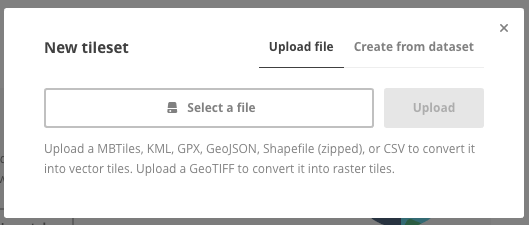
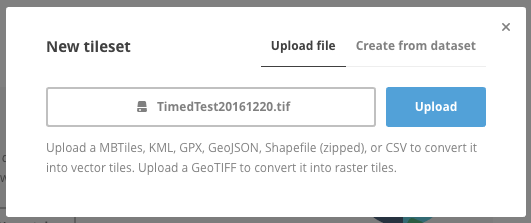
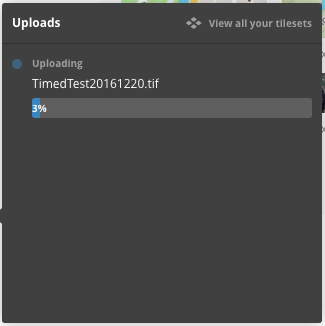
You will be prompted with a popup window that will allow you to select the source file for the new layer. Press the "Select a file" button, select the file from the file chooser dialog, and hit upload.
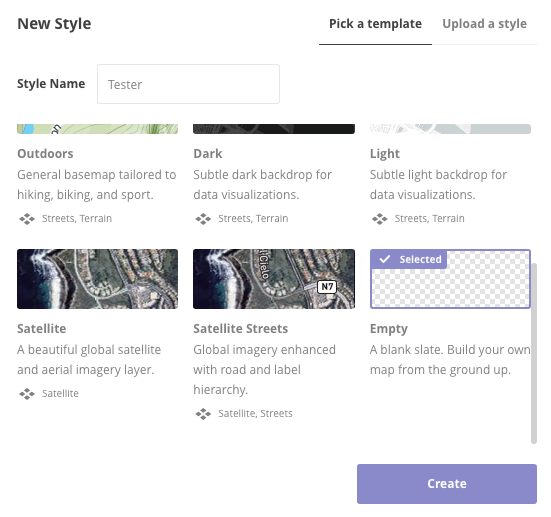
Once your file is uploaded and processed, go back to the "Home" view and hit the "New style" button in the "Styles" box. A popup titled "New Style" will come up. Scroll down to the bottom of the options and select "Empty". Give your style an appropriate name in the "Style Name" box and hit the "Create" button.
After creating the new Style called "Tester" the Mapbox Studio layer editor interface will be shown. Now we will add the Tileset that was created in the previous steps to the empty Style we just created.
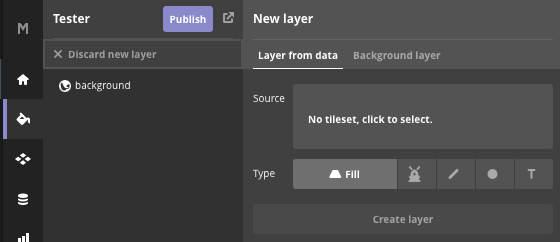
Click the "New layer" button.

Hitting "New layer" will bring up the "New layer" panel. Click "No tileset, click to select."
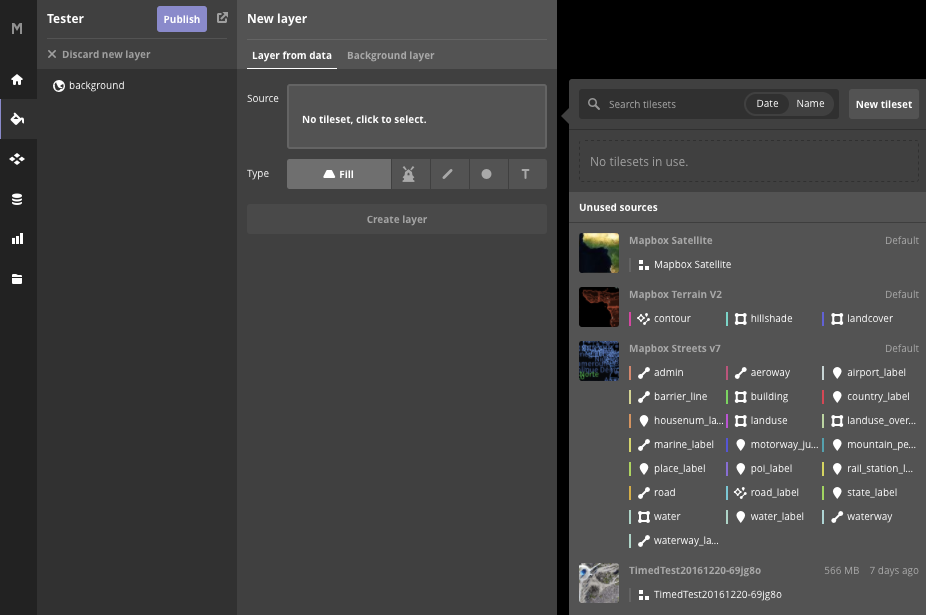
Now select the Tileset that was created previously at the bottom of the selection panel.
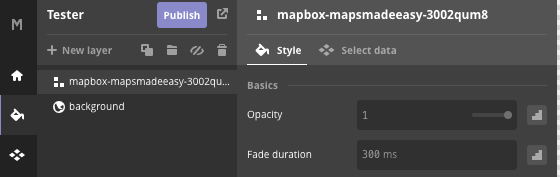
Now click the purple "Create layer" button. This will likely show you a blank screen again.

To get your data to show up, click the "Select data" tab in the new layer's control panel.
Doing so will prompt you to center the map on your newly added layer. Click "Take me to the data".

You should now be able to see the uploaded GeoTiff data.

To make sure it doesn't lose it's position again, go to the panel in the top right, click "Map position", and make sure the "Lock default position" is enabled.

The last step is to hit the purple "Publish" button.
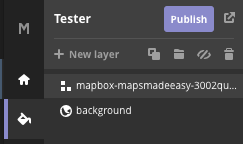
Success! Now you can click the purple "Preview, develop & use" button to get to the Share URL Map Pilot needs to access this info.

I will be flying at an open pit mine site and use terrain awareness. If I generate a base map at high elevation and bring it into Map Pilot can will the terrain awareness feature work using the terrain elevations from the base map? Thanks
I'd like to know that too
Troy and Sergio: You can do this using our Custom Terrain source system:
https://support.dronesmadeeasy.com/hc/en-us/articles/360000745623-Custom-Terrain-Source-for-Terrain-Awareness
Hi zane, I have problems when processing the 2D images from the maps made easy page, all the images load and in the end it shows me an error when accessing the image labels.
your help please.
https://drive.google.com/drive/folders/1hDfsmgMbNR_EFiRyJJ_a0-vCWTYFynJm?usp=sharing