As of December 2, 2016 we have added the capability to opt out of the automatic edge trimming which was done by default on all processed jobs. We also added the capability to manually trim the visible area of web maps using the polygon tool to enable users to make their own decisions on what to show or not.
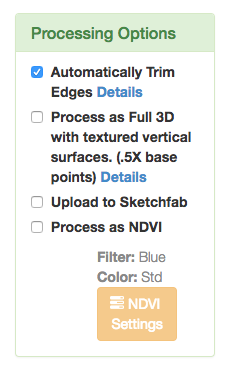
Opting out of Auto Trimming can be done by unchecking the Automatically Trim Edges the box in the "Processing Options" box on the "Point Use" tab during the upload workflow.
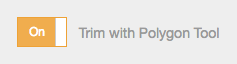
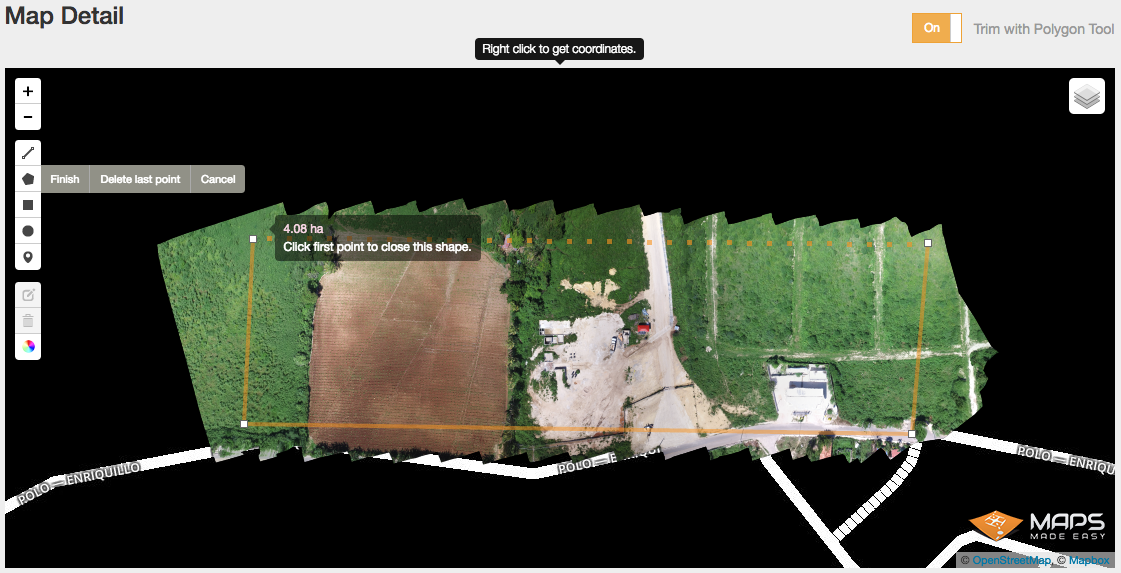
Manual Map Trimming can be done by turning on the Trim with Polygon Tool selector and using the standard polygon tool to define your trimming area.
The trimming boundary can be cleared by using enabling this tool and defining a larger, more inclusive area around the original image area.
Note: For the trimming to take effect on the public version of the map, the annotations must also be made public since the trimming is done with an invisible polygon annotation.
The automatic trimming is done around the outside of the flight envelope in a concave shape that should closely track the imaged area. We attempt to use a 30 degree angle out from the flight envelope to include a bit of area outside the flight without including the jagged edges of the spaced out images. This works well with wide field of view lenses but will still leave some jagged edges on narrow FOV images.
The example below is an extreme one that was taken with a linear path (which we don't recommend).
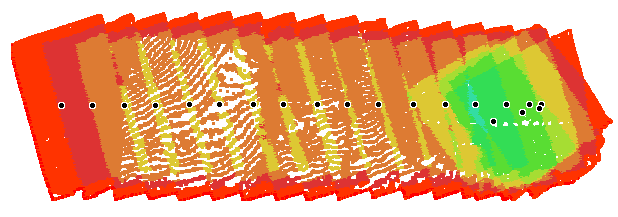
The following is the overlap report for the linear mission above.

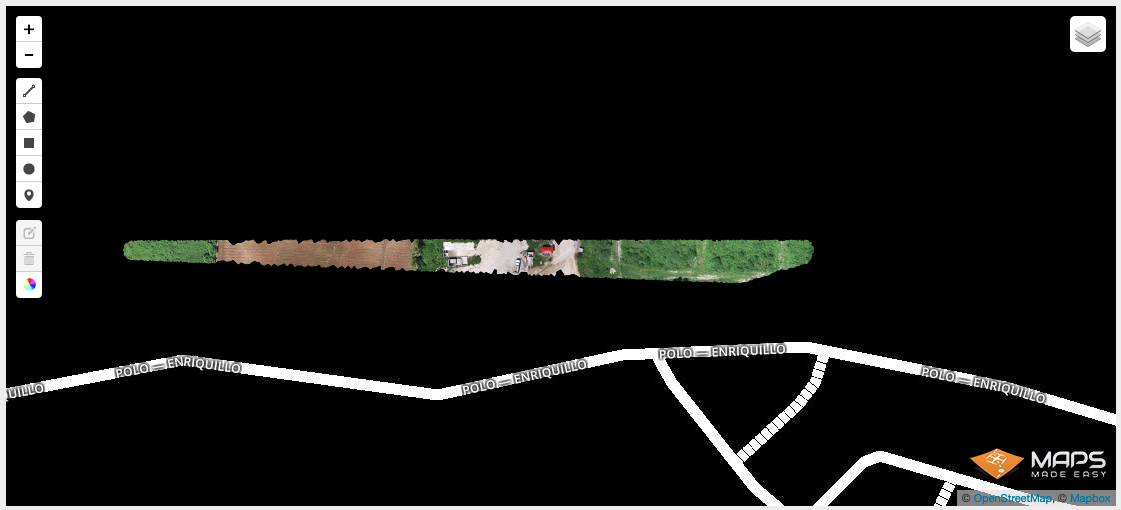
With Automatically Trim Edges box unchecked the image will come out like this:
This this is the overlap report for the untrimmed image.
To manually trim it, enable to the Trim with Polygon Tool switch in the top right of the Map Detail page and use the polygon tool to select an area.
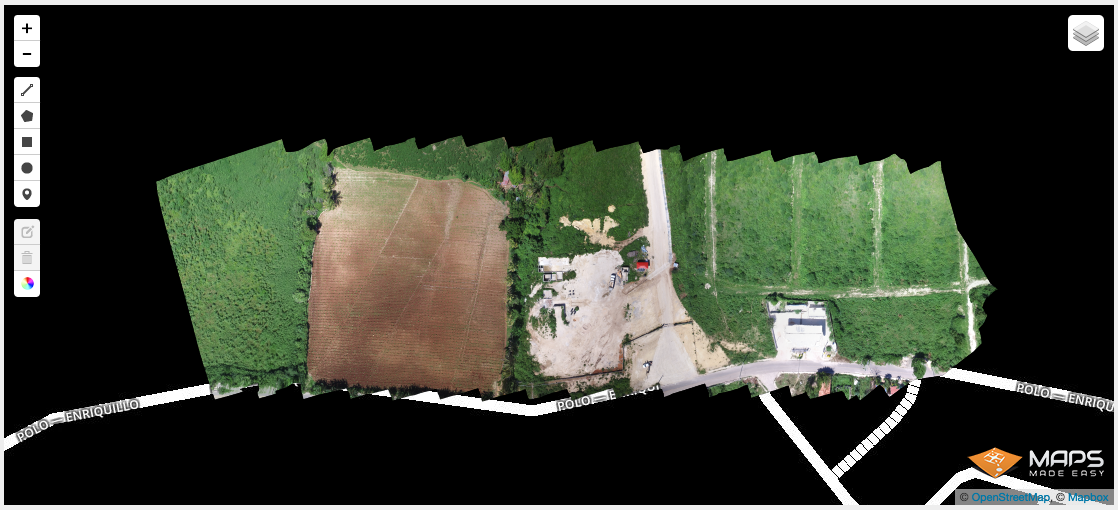
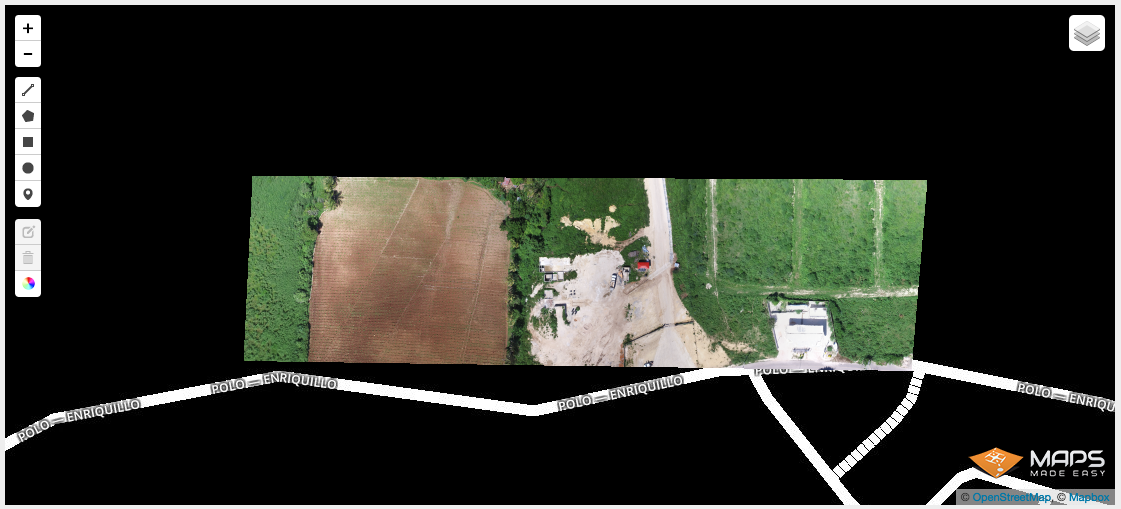
This is the result with the custom trimmed area:
NOTE: Any manual trimming will only affect the web map. All of the Advanced Output files will be untouched.
is there a way to Undo after you have trimmed manually?
Draw a big, all inclusive polygon around the area with the trim switch enabled to make it all show again.
so helpful. thanks very much.
It appears "trim with polygon" doesn't change the public link. Is this correct, or am I doing something wrong?
You may need to make the annotations publicly visible since the trimming is essentially done with an invisible polygon annotation.
We will edit this document to reflect that.
Awesome, that fixed the main map. I would assume this just doesn't work for the 2.5d view. Is that correct?
Cant seem to trim my map. Have all public annotations turned on. Have the trim with polygon turned on. Can draw a polygon around the edges I want to trim. It says click on last point to finish but it wont let me click on it. I can click close but not right on it. Then the polygon doesn't close and I cant see anyway to delete what you don't wont.
You need to be in the Map Detail page. It will not work on touch devices or tablets using touch-like interfaces.
When I goto dashboard and click on my map comes up with "Map detail" at the top of the page. So assume I am in the right page.
I am using a Win10 laptop. MSI GS40. Its not a touch screen and has its own graphics card so should be ok for the job ?
Why is it that when I check for details under "Force Paid Points", I get details for "Map Trimming"?
If I opted in for auto trimming can I still get the full untrimmed map somehow afterwards?
Sean: the auto trimming is not reversible. If you want to not lose anything you would uncheck the auto trimming and then trim it as needed using this tool.